
When I finally subscribed, the latest Body Issue was out and after seeing the pictures of the Rio on the beautiful real model Seamwork used I knew I wanted the Rio to be my first project. I loved the look of the drop hem at the back and the split hem.
I purchased two lots of fabric that was going to be either used for the Rio or a Santa Fe by Peekaboo Patterns. As I have already made one Santa Fe I wanted to start with the Rio.
I loved, loved, loved making this t-shirt. I love the pattern instructions, I have only made one other (so far anyway!) Colette Pattern, the Wren, and I found the instructions just as consistent and perfect for a sewing newbie like me.
I did have a couple of "Hmmm" (aka problem solving) moments with sewing the split hem and attaching the neckband.
 |
| Before, looks a bit messy |
 |
| With interfacing from the wrong side, prior to the bar-tack |
 |
| My best twin needle stitching to date - Go Me!! |
When attaching the neckband the instructions suggest lining up the seams of the neckband and the left shoulder. However I found with such a large scoop neck it was difficult to get the neckband even. So I put the neckband seam at the centre of the back and it was much easier to pin the raw edges evenly.
As I was in between two sizes I adjusted the pattern. This was not something I had tried before and I wanted to ensure a good fit. The instructions suggest making the bigger of the two sizes but I had already cut out my pattern pieces before I read that suggestion. Luckily I think I got a better fit by adjusting the pattern, so I don't regret my reading oversight!

I used the following Tutorial by The Sewing Geek to adjust the pattern. I found the diagrams used in particular helpful as I admit I didn't read much as I was in a rush (ok I was being impatient due to limited sewing time).
I really enjoyed sewing this t-shirt and I may make a second one with a contrasting coloured fabric for a patch pocket and neckband.
Thanks for reading!
SJ x
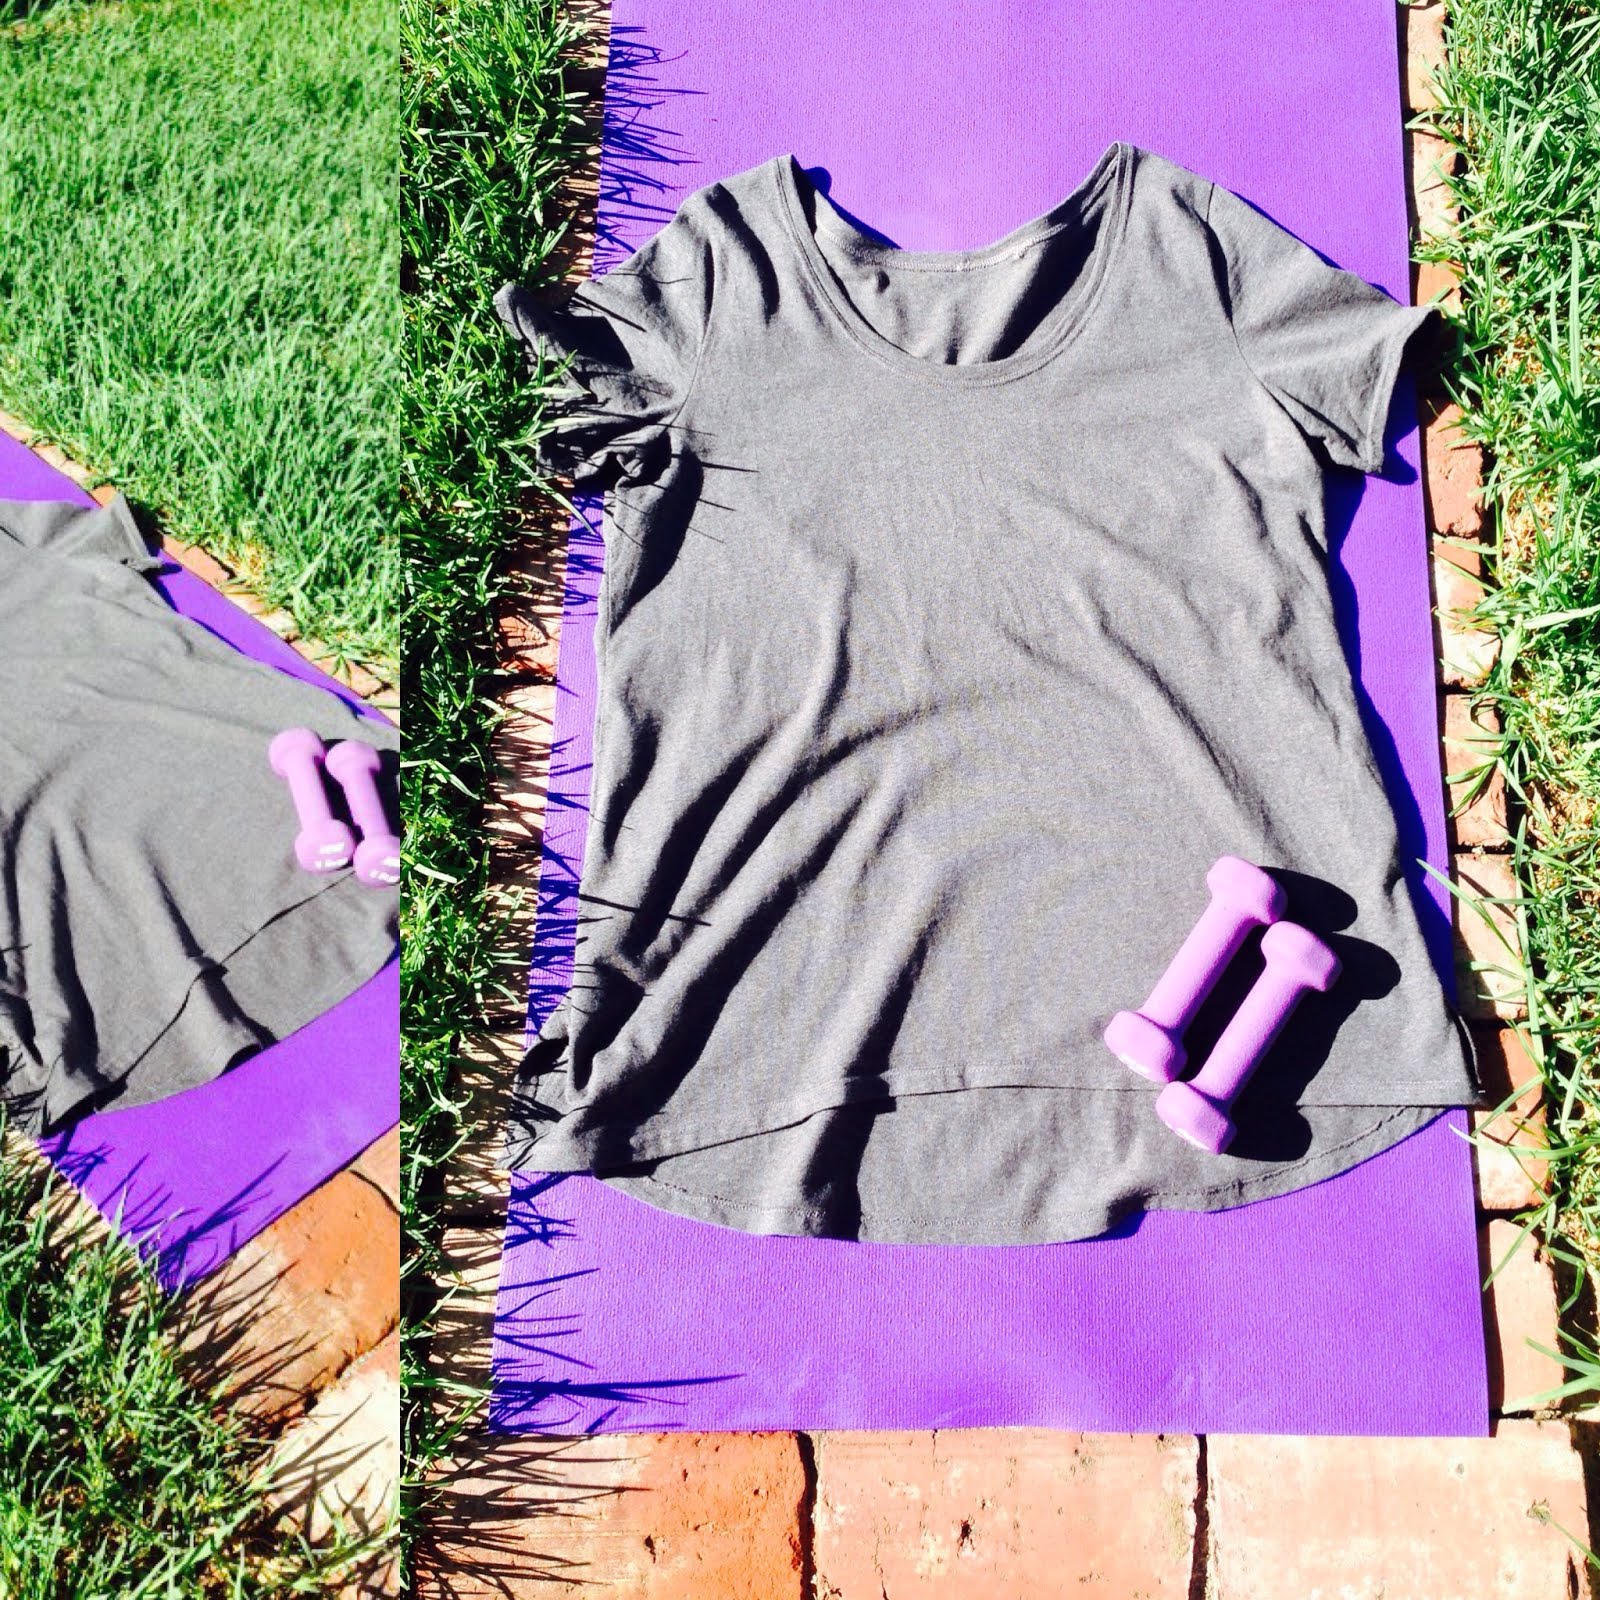
 |
| Potential for casual wardrobe? |
No comments:
Post a Comment